Nearly 5 years to the day from when I picked it up, the Audi turned it’s first miles in rally fury. I wouldn’t dare admit to having been prepared nor ready but I signed up months in advance and there was no turning back (… I should say that the rally refund policies are typically very good but that’s besides the point). But first there was prep, lots of prep.
I should mention here that A LOT of building and work happened since my last post – in fact 2.5 years of it – maybe one day I’ll write something about it. For now, I want to get 2019 in the books and get working on 2020.
This post covers Jan ’19 to April ’19 so that’s something.
I got the car back from the cage builder in January and it was a mad dash to get the car ready. The car came back to me with a cage that needed painting, many welds that needed to be sealed, a windshield glued in, and – oh yeah, a two tone paint scheme thanks to a new roof. Hood pins, sealed sunroof, new seats and harnesses and a load of painting interior later – the car was off to the dyno.
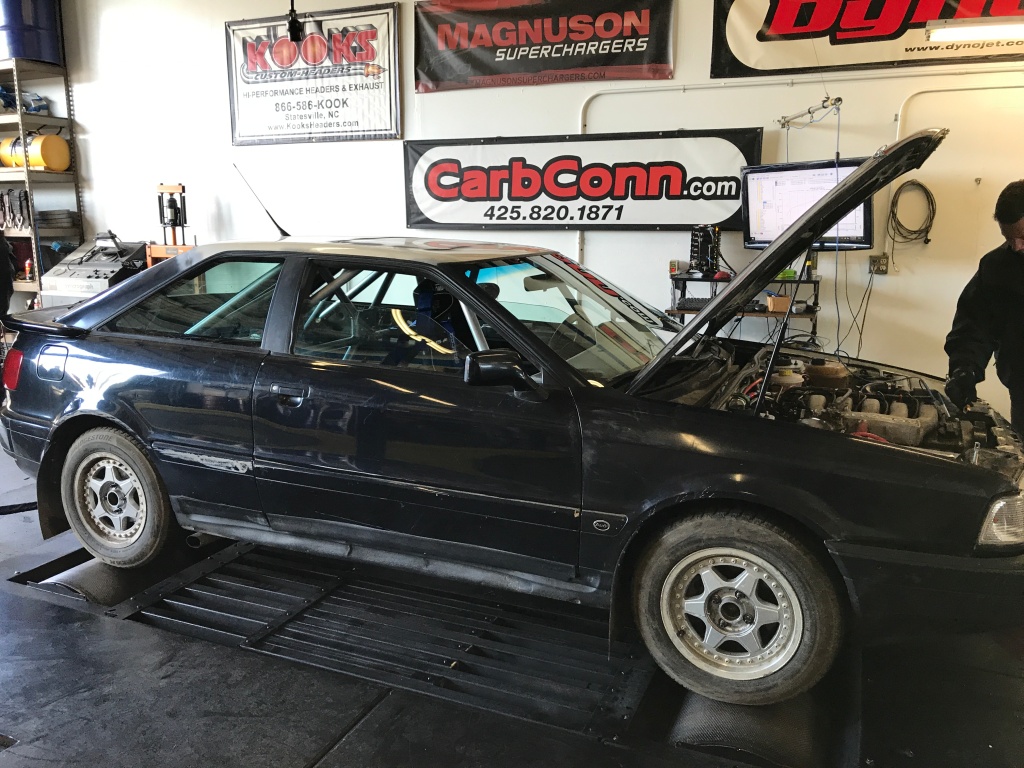
I won’t keep people in suspense because the results aren’t terribly exciting, the car made 135 whp & 136 ft*lbs. The funny thing here is that I had a “tuned” computer and an OEM one – guess which one made more power. Yes, the OEM one – so glad I paid money for that “tune”.

After the fun at the dyno, the car still needed more painting, a flocked dash (well, it didn’t NEED that but it looked a whole lot better), a custom front skid plate, door cards, and some guards around the fuel tank to be ready… for a Rally Sprint.
A rally sprint is like a lightweight rally. It uses the same small course for multiple passes as opposed to long courses that are only used once or twice. Logistically this makes running the event far easier and for beginner drivers it gives them the chance to see the same turns a few times to improve.
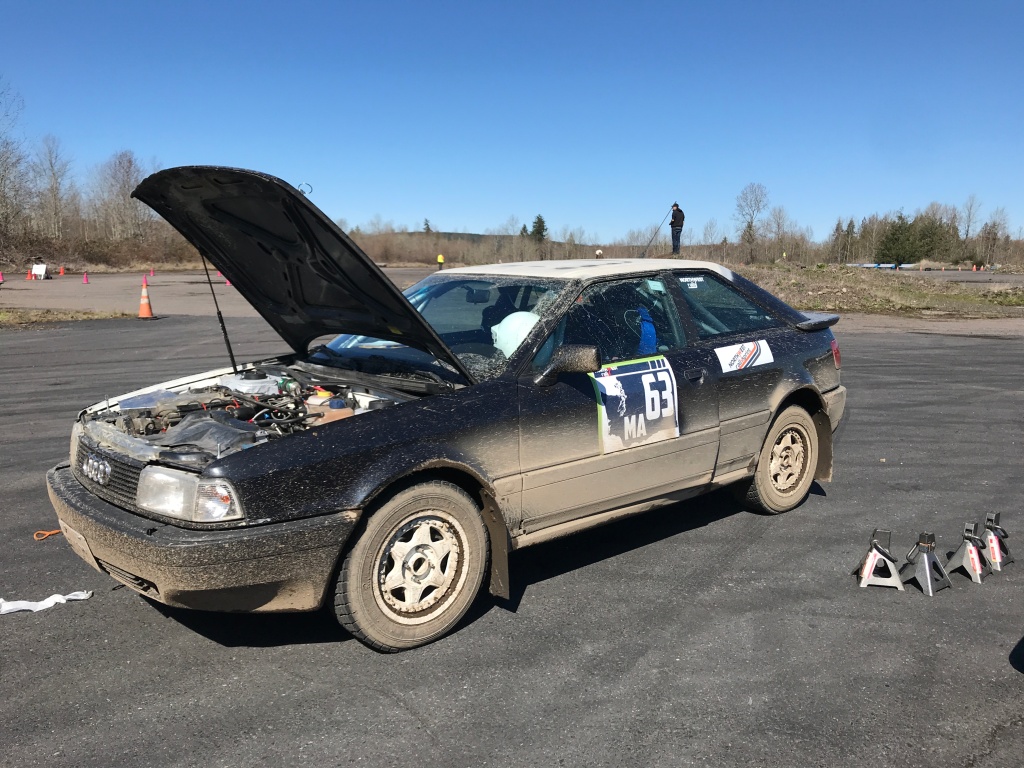
The event went great and I learned a lot. First thing was that you actually needed a co-driver for a rally sprint which made for some interesting last minute planning but I did manage to find someone (with experience!) which worked out great.
I also learned this:
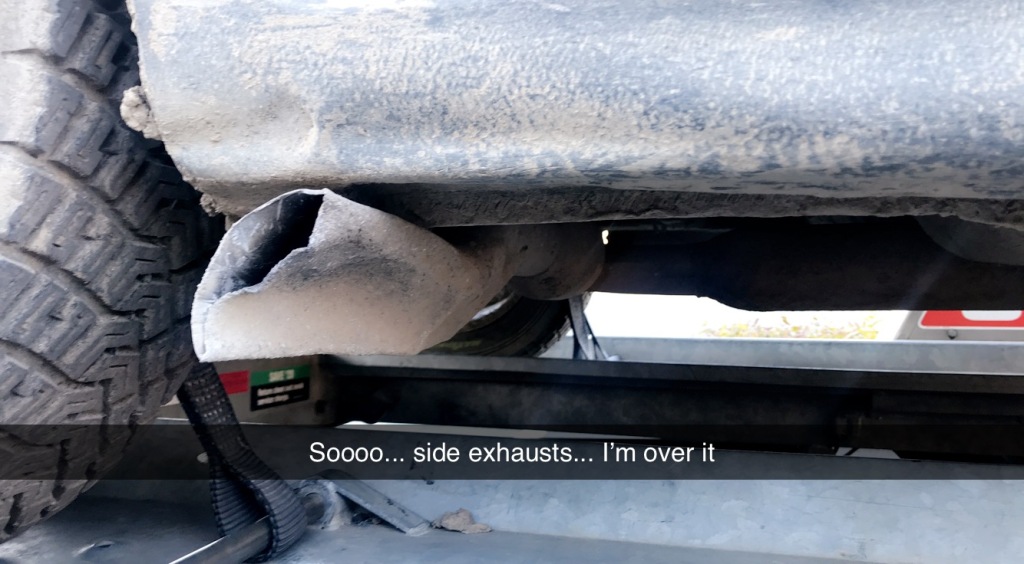
This was the only mechanical issue of the day – happy with that.
And soon after this event, this happened and it started to feel very real:

I’ll sneak in here a picture of the painted cage which was a massive pain to do but looked stunning both in build quality and finish. I decided to brush paint the cage to save time masking. My garage is also tight quarters with other (far more expensive) cars so, yeah, brush painting. Overall I thought it was a good strategy. Thin paint and a warm environment allows the paint to smooth out before drying. Sure there are a couple drips, but it is a rally car after all.

A little driver training was also in order. I decided to do the 3-day AWD class at Dirtfish which looks expensive but when you consider the cost of building a car, the savings of not wrapping it around a tree is considerable. Dirtfish puts together a great class with a really nice balance of classroom time and seat time. Good for anyone considering getting into the sport or just looking to have some fun behind the wheel – I highly recommend it.

Back to the prep work where the car still needed a functioning horn, new rally tires, more work on the gas tank firewall (or so I thought thanks to a poorly written rule which in the end was a non-issue). I bought an aftermarket rear exhaust section from a buddy and welded some hack pieces together to make it work.

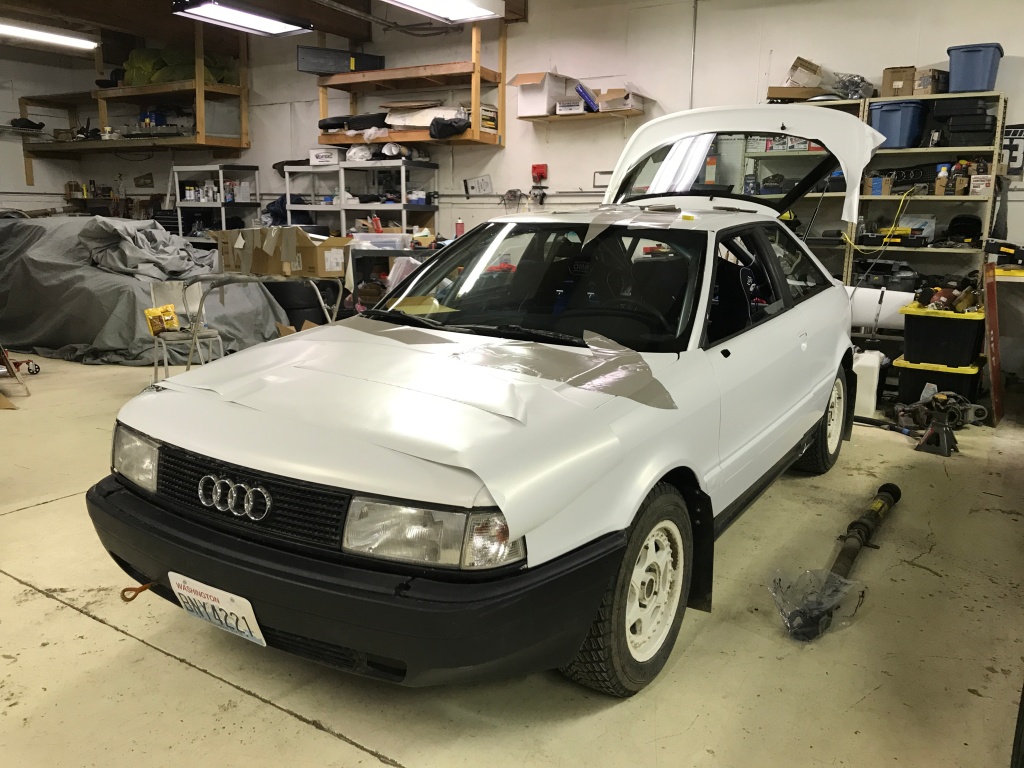
And after all that, and a deep cleaning after the rally sprint. the car still has this “dope” 2-tone look:

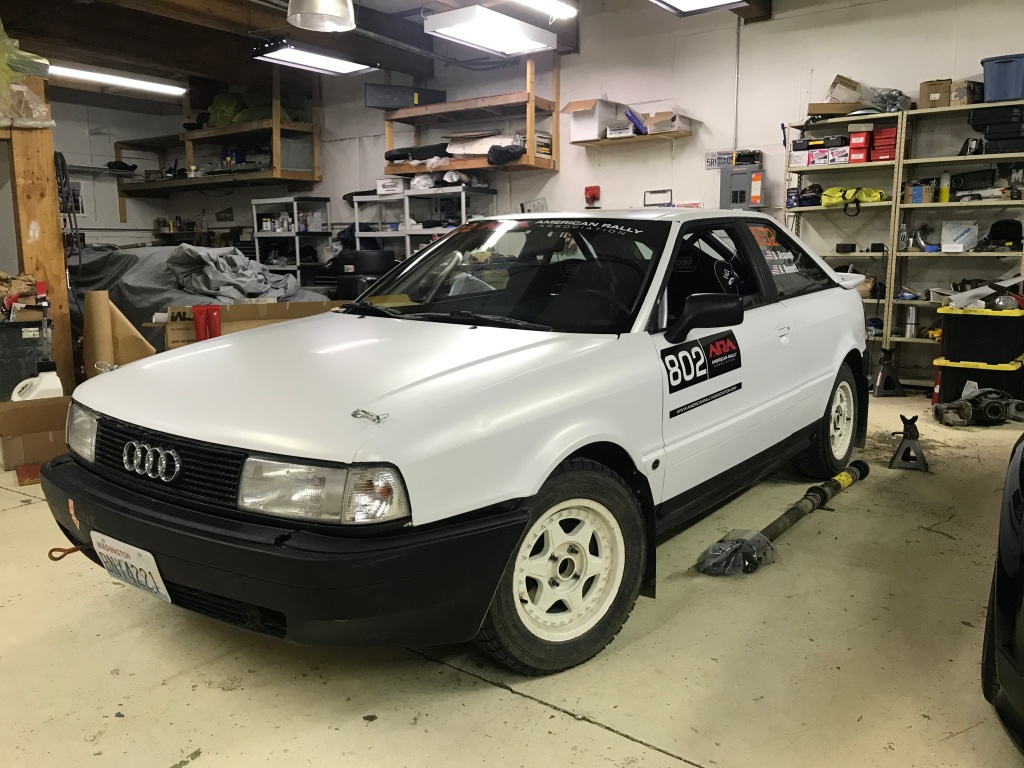
The picture makes the car look far better than it was and I decided it needed to be changed. By this point I wanted to do anything other than paint anything so I decided to wrap the car. I’ve never done it before but I watched a youtube video (or at least part of it) and briefly chatted with a coworker about it so I decided it couldn’t be that hard.
With 5 days to go, we got to work on the wrap – and by “we” I mean me and any friend I could con into helping. The process became pretty straight forward once we got the hang of it and I actually enjoyed it! Unlike painting.
Starting with a clean car (needs to be clay bar’d) you lay it onto the panel with excess on all sides. Start in the middle and work your way out. The only tricky part is when you have curves in 2 dimensions because you either don’t have enough material to stretch over the curve or you have too much and you end up with creases. In any case, its a rally car (sensing a theme here?) so the quality standard was a bit low. Something like: “good from far and far from good”


Now, rallying. Well, in the next post anyway. Let’s see if I can get that out within the next 2 years.
